Logging into BullPhishID
This article describes the methods for logging into BullPhish ID. It emphasizes first-time login steps and subsequent login steps.
Login methods
The method you use to log into BullPhish ID is based on the following circumstances:
- Whether KaseyaOne Unified Login is enabled for your organization.
- If KaseyaOne Unified Login is enabled, whether login with KaseyaOne is required.
- Whether you have a KaseyaOne account.
Method one
If KaseyaOne Unified Login is not enabled for your organization, you login into BullPhish ID locally using your BullPhish ID credentials.
Method two
If KaseyaOne Unified Login is enabled for your organization but it is not required that you login with KaseyaOne credentials (Require Log In with KaseyaOne is not enabled), you have two login options. You can log into BullPhish ID locally using your BullPhish ID credentials or log in with your KaseyaOne credentials (if you have a KaseyaOne account that is linked to your BullPhish ID account).
Method three
If KaseyaOne Unified Login is enabled for your organization and it is required that you login with KaseyaOne credentials (Require Log In with KaseyaOne is enabled), you must log into your KaseyaOne account. If you don’t have a KaseyaOne account, your administrator can add you to the User Exceptions list and you will log into BullPhish ID locally using your BullPhish ID credentials.
Regardless, of whether KaseyaOne Unified Login is enabled or logging in with KaseyaOne is required, the platform guides you through the log in steps based on your account information.
Two-factor authentication
Two-factor authentication is required to log into BullPhish ID. This means that after you login with your credentials, you must enter a code that has been generated by an authenticator application.
You need to download a two-factor authentication application to your mobile device. Common authenticator applications include Passly Authenticator and FreeOTP.
First-time login
When you are added as a new BullPhish ID user, you will receive a welcome email explaining the steps for accessing the application. The steps required depend on whether KaseyaOne Unified Login is enabled for your organization and whether logging in with KaseyaOne is required.
Welcome emails
Each welcome email is described below.
KaseyaOne Unified Login is not enabled
If KaseyaOne Unified Login is not enabled for your organization, you are instructed to click the link to accept the invitation and create a BullPhish ID password.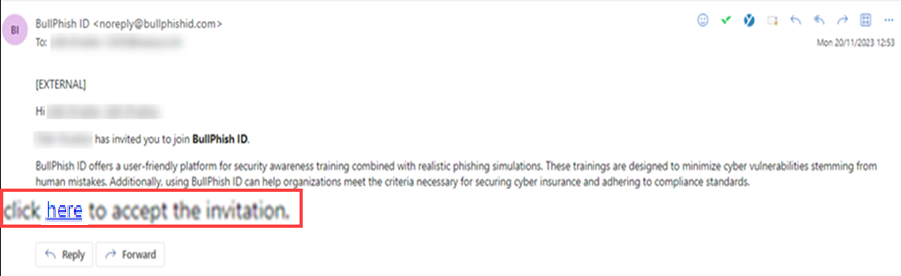
KaseyaOne Unified Login is enabled but logging in with KaseyaOne is not required (Require Log In with KaseyaOne is not enabled)
If KaseyaOne Unified Login is enabled for your organization but logging in with KaseyaOne credentials is not required, you can click the link to accept the invitation and create a BullPhish ID password. After doing so, you will have the option to login with your KaseyaOne credentials or with your BullPhish ID credentials.
KaseyaOne Unified Login is enabled and logging in with KaseyaOne is required (Require Log In with KaseyaOne is enabled)
If KaseyaOne Unified Login is enabled for your organization and logging in with KaseyaOne credentials is required, you must login with your KaseyaOne credentials. 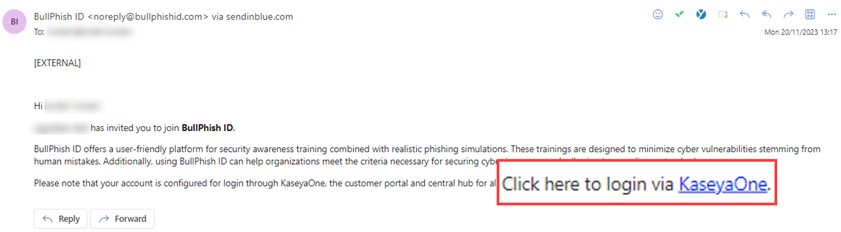
NOTE You should receive a separate email with KaseyaOne first-time login instructions.
How to...
- In the Welcome to BullPhish ID email, click the here link to accept the invitation.
- In the BullPhish ID password modal, create a password per the requirements. Confirm the password and click Save.


NOTE Hover over the One symbol tooltip icon to display the list of acceptable symbols.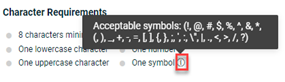
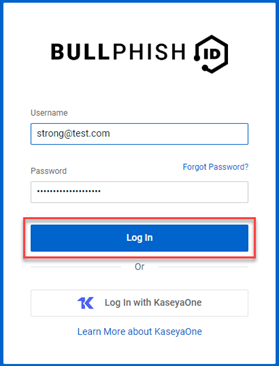
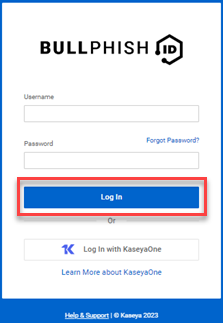
- In the BullPhish ID login modal, enter your Username and Password. Click Log In.

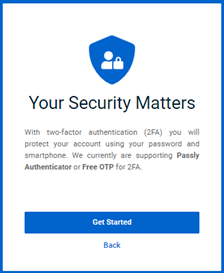
- In the Your Security Matters modal, click Get Started.

- If you have not already done so, download and install one of the following two-factor authentication applications that is compatible with your mobile device:
- Passly Authenticator
- Free OTP
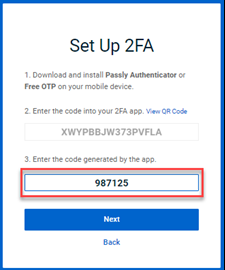
- In the Set Up 2FA modal, scan the QR code using the authenticator app on your mobile device.

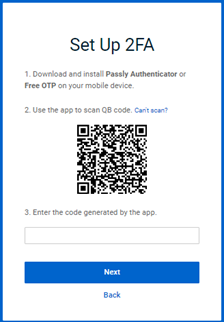
NOTE If you are not able to scan the QR code, follow the steps in the section Generate a code if you are unable to scan the QR code.
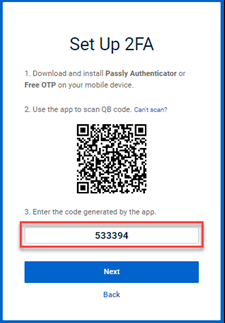
- Your 2FA app will generate an authentication code. In the Set Up 2FA modal - step 3, enter the code.

- Click Next.
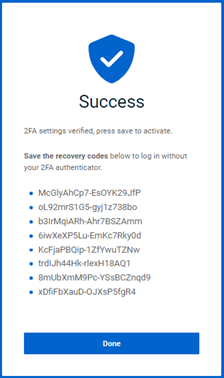
- In the Success modal, click Done.

- With 2FA successfully setup, you are required to enter a new authentication code. In the Verification modal, enter the authentication code generated by your 2FA app.

- Click Verify.


Generate a code if you are unable to scan the QR code
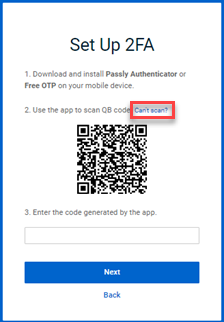
- In the Set Up 2FA modal, click Can’t scan.

- In the 2FA app on your mobile device, enter the code displayed in the Set Up 2FA modal – step 2.

- Your 2FA app will generate an authentication code. In the Set Up 2FA modal - step 3, enter the code.

- Click Next.
- In the Success modal, click Done.

- With 2FA successfully setup, you are required to enter a new authentication code. In the Verification modal, enter the authentication code generated by your 2FA app.

- Click Verify.


You must have completed the first-time login steps before you can perform the subsequent login steps below.
NOTE Some users may have the choice of logging into BullPhish ID locally or with their KaseyaOne credentials.
- In your browser, navigate to https://bullphishid.com/login.
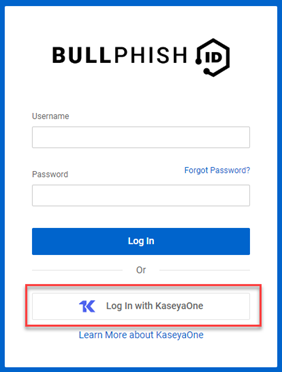
- If Require Log In with KaseyaOne is enabled for your organization, click Log In with KaseyaOne.

NOTE If Require Log In with KaseyaOne is enabled for your organization but you enter your BullPhish ID credentials and click Log In, you are redirected to the KaseyaOne login page.
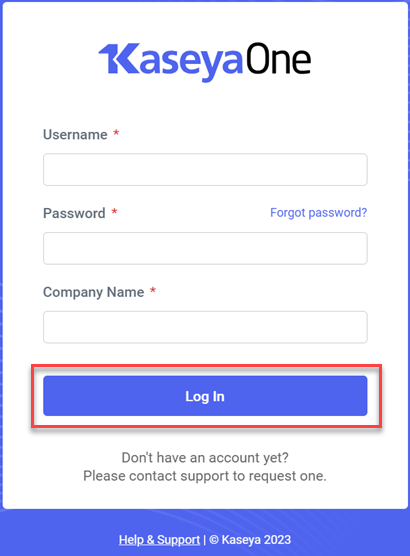
- Enter your KaseyaOne Username, Password, and Company Name. Click Log In.

- If Require Log In with KaseyaOne is not enabled for your organization, enter your BullPhish ID Username and Password. Click Log In.

- In the Verification modal, enter the authentication code generated by your 2FA app.

- Click Verify.

| Revision | Date |
| Initial release. | 12/14/23 |


